How to Double Expose Over an Entire Roll of 35mm Film
First of all, I have to say that I got my inspiration for doing double exposures like this from Ashley Crawford & Wendy Laurel. They are the QUEENS of double exposures & color! Seriously, check out their work, it is all amazing!
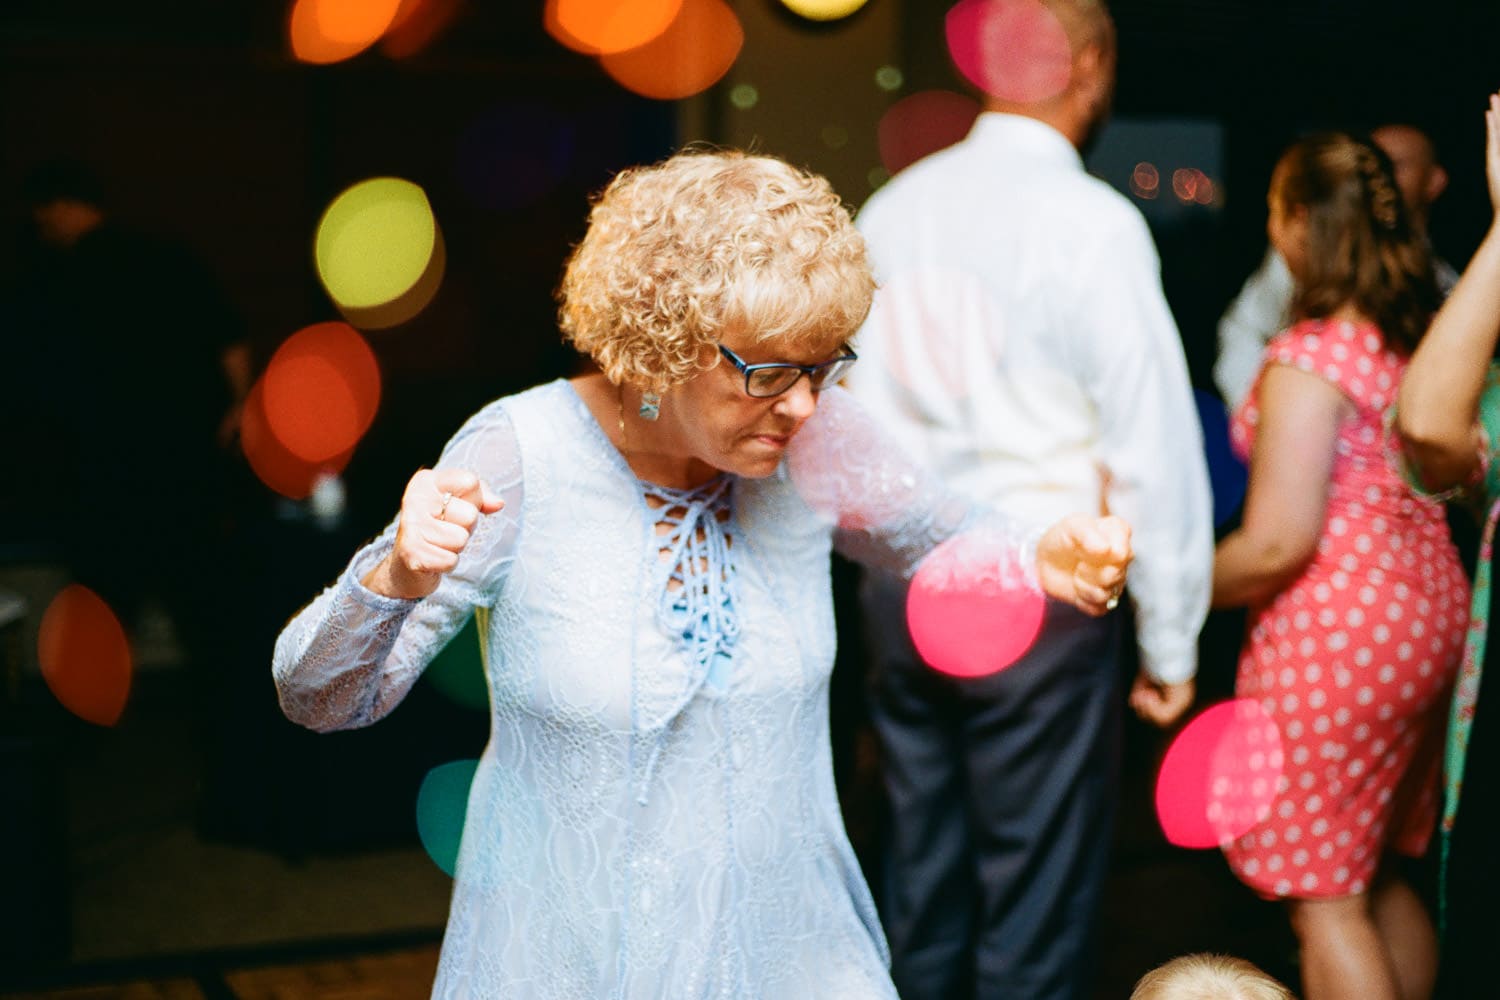
I don’t always have time to shoot double exposures when I want. Or other times, there isn’t anything around to double expose with, Nebraska can be pretty blah at times & I love color! If I shoot a roll of film full of florals, colored lights, textures, patterns, or anything really, then it is ready to go & use later. I love shooting a roll of florals to use at a family session or portrait session, or shooting a roll of colored string light bokeh to add some flair to reception dancing photos or for fun, colorful, & candid portraits.
So how do you do it? It really isn’t too hard. First, shoot a roll of 35mm film like you regularly would, but make sure you don’t overexpose too much. Try & shoot things that have darker areas, these are areas where your second exposure will show up more on the second exposure.

Notice the bokeh against the dark background, the dark background will allow the second image to show up in this frame better, notice how I left more space towards the middle
Remember that you are exposing the film to light twice, so it will be getting twice the amount of light. Underexpose each frame by cutting the exposure in half. That’s why shooting colored string lights in a dark room or closet against a dark background can yield some pretty easy & predictable results.
I also highly recommend that you mark your film before you finish advancing it & loading it. Put a little mark on your film & either remember where you line that mark up on the inside of your camera, or put a little mark inside your camera & line the mark on the film up with the mark inside your camera.
Mark your film & line it up the same both times you shoot it
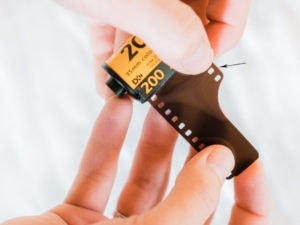
But how do you get the film back out of the canister if your camera rewinds it all the way, like the Canon 1V? You can get a film retrieval tool but I didn’t want to have to buy one & wait. So I found out that you could get the film leader back out of the canister if you have an extra piece of film negative.
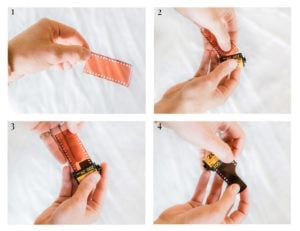
First, you need a cut piece of film. You can pull out some film from an unused roll & cut it, or you can cut a piece from a negative that you’ve already had developed. (see photo 1) Second, wet the piece of film with some water, or do what I did & just spit on it a little. Then insert into the film into the canister quite a ways but leave enough sticking out. (see photo 2) Turn the knob on the film & it’ll catch & stick.
Then give the piece of film a little tug & it’ll pull the end of the other film out. Sometimes it can take a few tries! (see photo 3) After that, you have your film ready to go! (see photo 4) Make sure you line label the film with what you shot & line up the markings before you start shooting.

Have fun with it! Experiment & do crazy/weird/colorful things! Think outside the box & get creative. If you’ve tried this before, I’d love to learn more about your results & any tips you have. Tell in the comments below. Or if you have questions, ask below & I’ll do my best to answer!


These are SO FUN! Thank you for sharing how you did them! I can’t wait to try more!!
I love these and can’t wait to try it at a wedding reception. Can you tell me a bit more about how you exposed for the reception images?
I mostly guessed with the flash. But I made sure to set my flash so it’d be overexposed a little. I used my digital camera to do some test shots at the same ISO my film was at and then used the same settings.